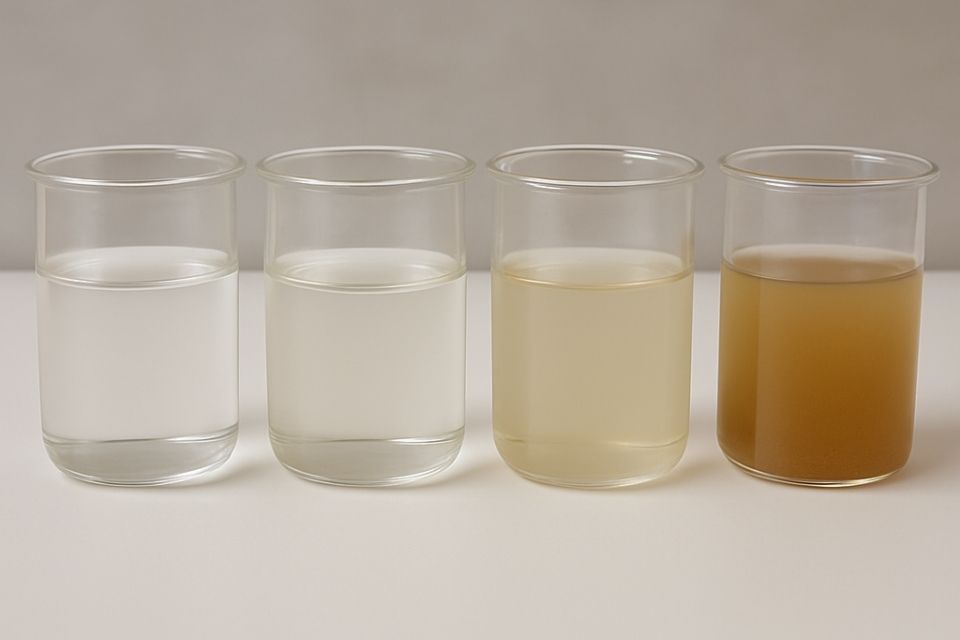
Collecting a water sample for lead analysis is the most critical step in ensuring your results are accurate. Because lead contamination in drinking water is not uniform—it fluctuates based on pipe stagnation, water chemistry, and time of day—the way you collect your sample directly dictates whether your lab report tells the truth about your plumbing or provides a misleading result.
If you are concerned about water quality in your home, it is essential to follow a standardized “first-draw” protocol. This guide will walk you through exactly how to collect a valid sample to ensure you get the data you need to protect your household.
Why the “First-Draw” Protocol Is Mandatory
Lead enters drinking water through corrosion. When water remains motionless in your pipes—such as when you are asleep or at work—it has time to interact with the plumbing materials. If your home has lead solder, brass fixtures, or aging lead service lines, these materials will leach lead into the water.
If you test your water in the middle of the day after you have already used the shower or flushed the toilets, you are testing “flushed” water. This water has traveled through the system recently and hasn’t had the time to sit against the pipes. To get an accurate reading, you need to capture the water that has been “soaking” in the plumbing system. Learning how lead testing works is essential to understanding why this “first-draw” sample is the gold standard for residential water testing.
Preparation: The 24 Hours Before
Before you collect your sample, you need to prepare your plumbing system to ensure the test is valid.
- Schedule the test: Plan to collect your sample early in the morning, immediately after you wake up. This allows for the necessary stagnation period without disrupting your household routine for an entire day.
- Avoid the “flush”: For at least six hours before the test, do not use the tap you plan to sample from. This includes running water for other purposes, such as washing dishes or filling a coffee maker.
- No exterior activity: If possible, avoid running large amounts of water elsewhere in the house (like the shower or laundry) just before you take the sample. You want the water in the internal pipes to be as still as possible.
Step-by-Step Collection Process
Step 1: Use the Provided Container
Only use the sterile bottle provided by the laboratory performing the analysis. These bottles are chemically cleaned to ensure no outside contaminants, such as dust or household minerals, interfere with the results. Never use a glass from your kitchen or a random plastic water bottle, as these can easily skew the data.
Step 2: The “Cold Only” Rule
Always collect your sample from the cold water tap. Lead dissolves much more readily in hot water, but testing hot water for lead is not standard practice for residential diagnostics. By testing the cold water, you are measuring the state of your plumbing under standard drinking conditions.
Step 3: Open the Tap Carefully
When you are ready, place the bottle under the faucet. Open the tap slowly and steadily. You want a consistent, laminar flow—avoid splashing or high-pressure bursts, which could dislodge sediment or biofilm from inside the pipe and artificially inflate the lead levels in your sample.
Step 4: Fill to the Mark
Fill the bottle to the designated line provided by the lab. Usually, this is a 250ml or 1-liter container. If you fill it too far or not enough, the laboratory may not have the correct volume required for their analytical equipment (like ICP-MS).
Step 5: Seal and Label
Cap the bottle tightly immediately after filling it. Apply the provided label, ensuring you include the exact date, time, and the location of the tap (e.g., “Kitchen Sink”). Consistency in labeling is vital if you decide to test multiple rooms, such as a bathroom and a kitchen, to compare the results.
Troubleshooting Common Collection Mistakes
Even with careful planning, it is easy to make a small error. Keep these tips in mind to ensure your sample remains valid:
- Don’t over-flush: If you accidentally run the water for a few seconds before collecting, you have effectively ruined the “first-draw” sample. You will need to wait another six hours to let the water reach its full stagnation point again.
- Consider the “Local” Context: If you have concerns about the lead in older buildings, you might want to consider taking two samples: one “first-draw” sample and one “flushed” sample (after running the water for 5 minutes). Comparing these two can help you identify if the lead is coming from your faucet or from the service line in the street.
- Check with your local utility: Often, your local water utility has specific sampling guides based on the local water chemistry. Checking their website for “local” instructions can be an invaluable step in strengthening your data.
After the Collection
Once you have your sample, get it to the laboratory as soon as possible. Most labs prefer the sample to be delivered within 24 to 48 hours. If you cannot drop it off immediately, keep the bottle in a cool, dark place (like a refrigerator, but not in the freezer).
Why the Data Matters
Understanding why people test water is about moving from anxiety to empowerment. Once you have a laboratory-confirmed numerical value (in parts per billion), you can make an informed decision. If your result is above the Environmental Protection Agency (EPA) action level, you have the specific, defendable data needed to decide whether to install a filter or replace your plumbing fixtures.
If you find yourself confused during the process or have questions about how to interpret your laboratory report, our FAQ section is an excellent resource for translating technical data into simple, actionable steps. If you are ever feeling overwhelmed, remember that this is a standard maintenance procedure—similar to checking the air pressure in your tires—and getting it right is just a matter of following the steps.
If you are interested in more tips on home water safety or want to read more about maintaining a healthy home environment, be sure to browse our blog. Consistent monitoring is the best way to ensure your home remains a safe haven for you and your family.
Disclaimer: This guide is for educational purposes and should not be used as a substitute for professional environmental or medical advice. Always follow the specific instructions provided by the laboratory you have chosen for your analysis.
Are you currently preparing to collect your sample, or are you looking for guidance on which room in your home is the most important to test first?